
01Whether to update at all
Victron does not require devices to always run the latest firmware. A working, stable system can be left as it is. Update when commissioning a new installation, when diagnosing a problem, or when you need a new feature. Exception: some versions are mandatory — VictronConnect offers them immediately after connection.
| Devices | What to update with | Settings after update |
|---|---|---|
| Bluetooth and VE.Direct: MPPT, BMV, SmartShunt, Blue Smart, Orion, VE.Direct inverters, RS line | VictronConnect (Bluetooth or VE.Direct-USB) or remotely via VRM | remain |
| VE.Bus: MultiPlus, MultiPlus-II, Quattro, EasySolar | VictronConnect with MK3-USB or remotely via VRM | return to factory settings |
| VE.Can: MPPT VE.Can, Skylla-i, Lynx Smart BMS, Inverter/Multi RS via VE.Can | remotely via VRM (through GX) | remain |
| GX devices: Cerbo GX, Ekrano GX, MultiPlus-II GX | GX menu (internet or card/USB stick) or VRM | remain |
02In VictronConnect: Bluetooth and VE.Direct devices
- Connect to the device. If a newer version is available, an orange exclamation mark appears on the settings cog, and after entering the settings — a Update available banner.
- Press UPDATE. You can also see the firmware version (and the available newer one) in Product info.
- Keep the phone close to the device until the update is complete.
Internet is not needed — the firmware files are included in the app, so an up-to-date version of VictronConnect is enough. Device settings and history are kept. A firmware file from outside the app (for example a special version from the distributor) can be installed manually: Product info → Manual update (on a computer: Update and choose the file). An incompatible file ends with the message “Update Failed”, with no changes to the device.
03MultiPlus and Quattro (VE.Bus)
Updating VE.Bus firmware restores all factory settings. So save the configuration to a file first (in VictronConnect or in VEConfigure) and be prepared to set the device up again, including the assistants.
- Connect the computer or Android phone with an MK3-USB cable — updating is not possible via a VE.Bus Smart dongle or from an iPhone.
- Enter Settings mode (password from the distributor or from Victron training), in the settings menu “three dots” → Product info → Update.
- Do not touch the devices until the update is finished. If it fails — try again.
- Upload the settings from a file or configure the device again from scratch.
- Parallel and 3-phase systems: the devices must be configured and linked; after the update they all return to factory settings, so the whole system must be configured again (VE.Bus System Configurator). All units in one system must have the same firmware version.
- A DMC panel or VE.Bus BMS in the system blocks the update (errors V26 and V25) — disconnect them during the update.
- Firmware number (for example 2623506): the first two digits are the microcontroller family (19/20 — old, 26/27 — new, for 230 V and 120 V), the next two are the model, the last three are the version. Versions 4xx (new microcontroller only) include both assistants and Virtual Switch. In a parallel or 3-phase system, you must not mix versions with Virtual Switch (1xx) with versions with assistants (2xx–4xx).
- The VEFlash programme is obsolete — only for older models not supported by VictronConnect. With VEFlash, each unit is updated separately, and the device loses its settings, assistants and parallel configuration.
04GX device (Venus OS)
- On the GX device or in Remote Console: Settings → General → Firmware.
- Online updates — checking and downloading a new version over the internet. Without internet: a
.swufile on a microSD card or USB stick and Install firmware from SD/USB. - After the update, the GX device restarts by itself. You can return to the previous version via Stored backup firmware.
Automatic GX updates are disabled by default and Victron recommends leaving them that way. Venus OS older than v2.20 cannot be updated over the internet. The version with Node-RED and Signal K is selected as the “Large” image — Venus OS Large.
05Remotely via VRM
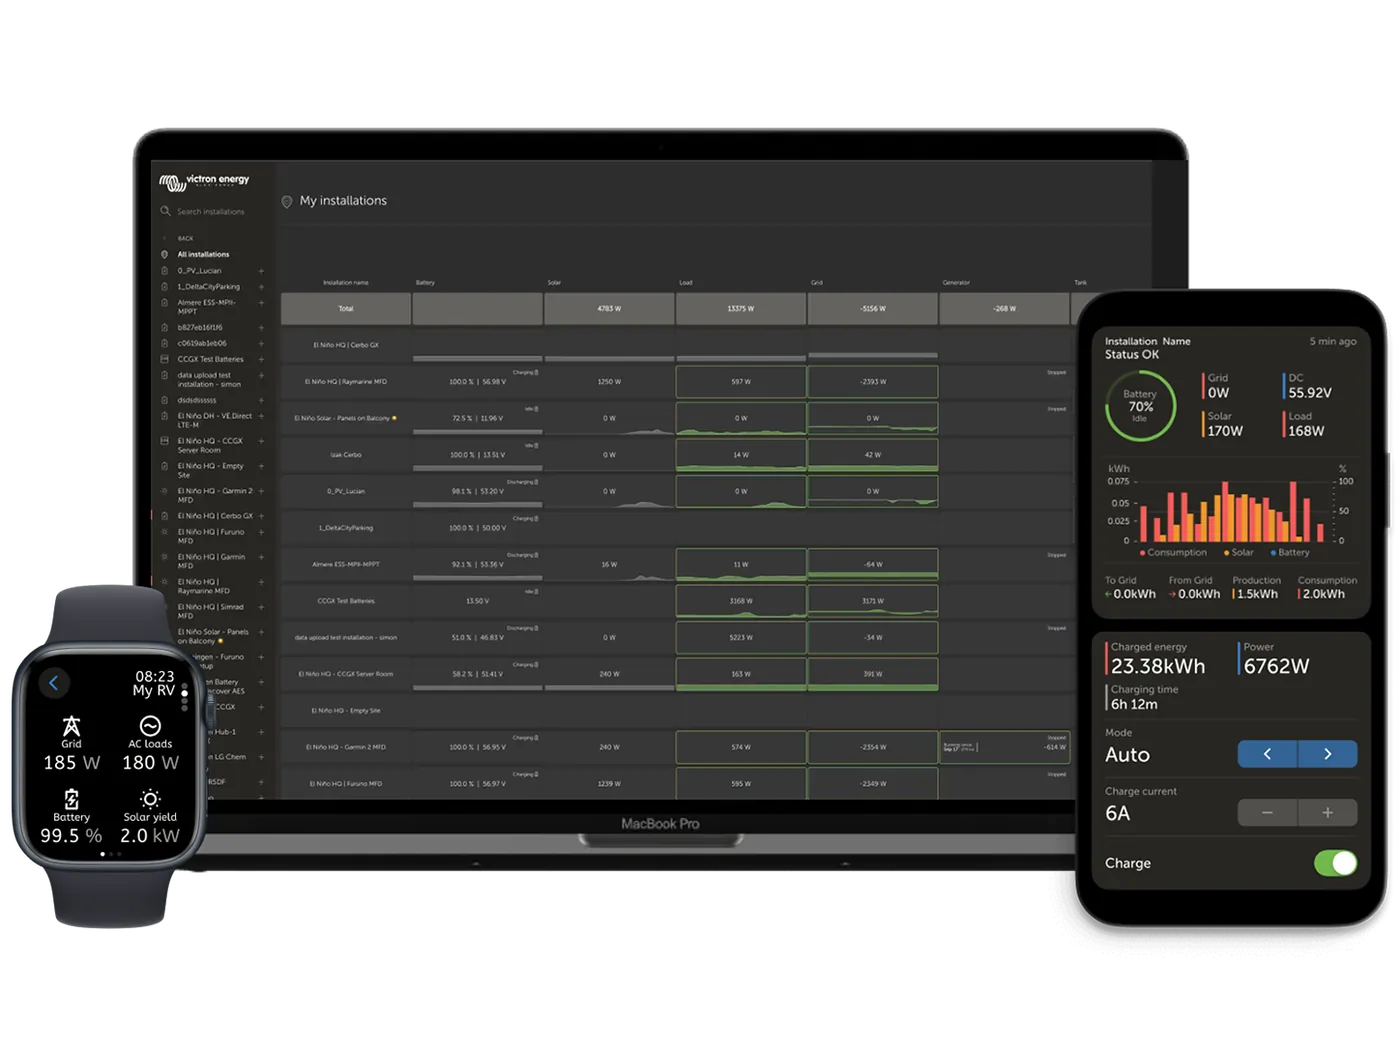
The VRM portal can update devices connected to the GX without you travelling to the site. The file first goes to the GX device, and only then to the target device, so an internet drop during the process does not interrupt the update.
- Requirements: GX with Venus OS v2.17 or newer, VRM access set to Full. Updating the GX device itself via VRM — Venus OS v2.80, preferably v2.90+.
- Supported: via VE.Direct — MPPT (including MPPT RS), BMV, SmartShunt, Phoenix inverters; via VE.Can — MPPT, Skylla-i, Inverter RS, Multi RS, MPPT RS, Lynx Smart BMS; the GX device itself.
- How: in VRM Device list → Firmware Update → Update Device; your own file via the “three dots” menu → Upload file.
- Limitations: after a failed remote update, a VE.Direct MPPT loses its configuration; a BMV via VE.Can cannot be updated; with Lynx BMS, retry is possible after 5 minutes.
MultiPlus and Quattro remotely require VE.Bus firmware at least 426, Venus OS 2.65+ and no DMC or VE.Bus BMS (exception: VE.Bus BMS V2). The GX device must not be powered from the inverter output, and PV inverters on the AC output must be switched off for the duration of the update. After the update the settings are factory default, and the charger practically does not charge until you upload the settings via Remote VEConfigure. Error 734 means DMC or VE.Bus BMS in the system.
06When the update fails
- You can always repeat the update — in VictronConnect it resumes every time you connect. Keep the phone close to the device; if it stops at random points, try another phone.
- Stops at 0–4% — the device did not enter update mode. Blue Smart IP65: disconnect power for 30 s and reconnect while holding MODE until the LEDs start flashing alternately; you have 30 s to connect. VE.Direct Bluetooth Smart dongle: hold “Clear PIN” while inserting it into the port.
- After a failed update, the device name may briefly revert to the name with the serial number.
| Code | Meaning |
|---|---|
| D26 | lost communication with the VE.Direct device |
| D90 | the firmware file is not intended for this device |
| B2, B3, B4 | Bluetooth pairing problem — remove the device from the paired devices list on the phone |
| V22 | MK2/MK3 interface does not respond |
| V25 | VE.Bus BMS is present in the system — update impossible |
| V26 | DMC panel is present in the system — update impossible |
Devices this applies to
 VE.Direct–USB interfaceCable from the VE.Direct port to USB — settings and updates from a computer, and a way to connect more devices to GX than there are VE.Direct ports.
 MK3-USB interfaceCable between the VE.Bus port and a computer — without it you cannot change settings or update the MultiPlus.
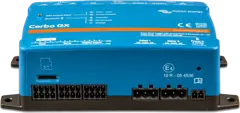 Cerbo GXSystem control centre and gateway to the VRM portal.
 Ekrano GXGX centre with built-in 7″ touchscreen.
Related
- VictronConnect — connection, PIN, settings files.
- VEConfigure — saving and restoring the MultiPlus configuration.
- Venus OS and Remote Console — GX device menu.
Sources
- VictronConnect Manual — ch. 9 Firmware updates, ch. 16 Troubleshootingvictronenergy.com · EN
- VictronConnect — VE.Bus products, ch. 11 Firmware updatesvictronenergy.com · EN
- VRM Portal manual — ch. 7 Remote firmware updatevictronenergy.com · EN
- Remote VE.Bus firmware updatesvictronenergy.com · EN
- Cerbo GX manual — ch. 10 Firmware updatesvictronenergy.com · EN
- VE.Bus firmware versions explained (v24)victronenergy.com · PDF · EN