
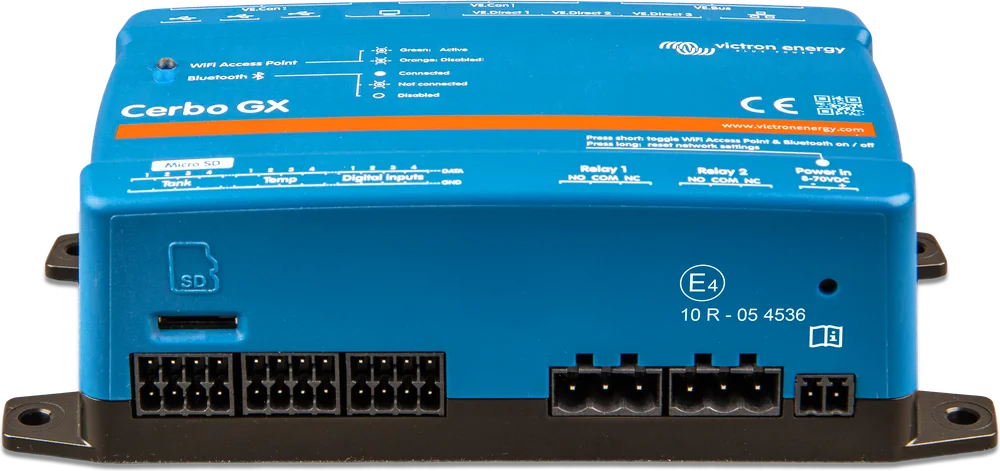
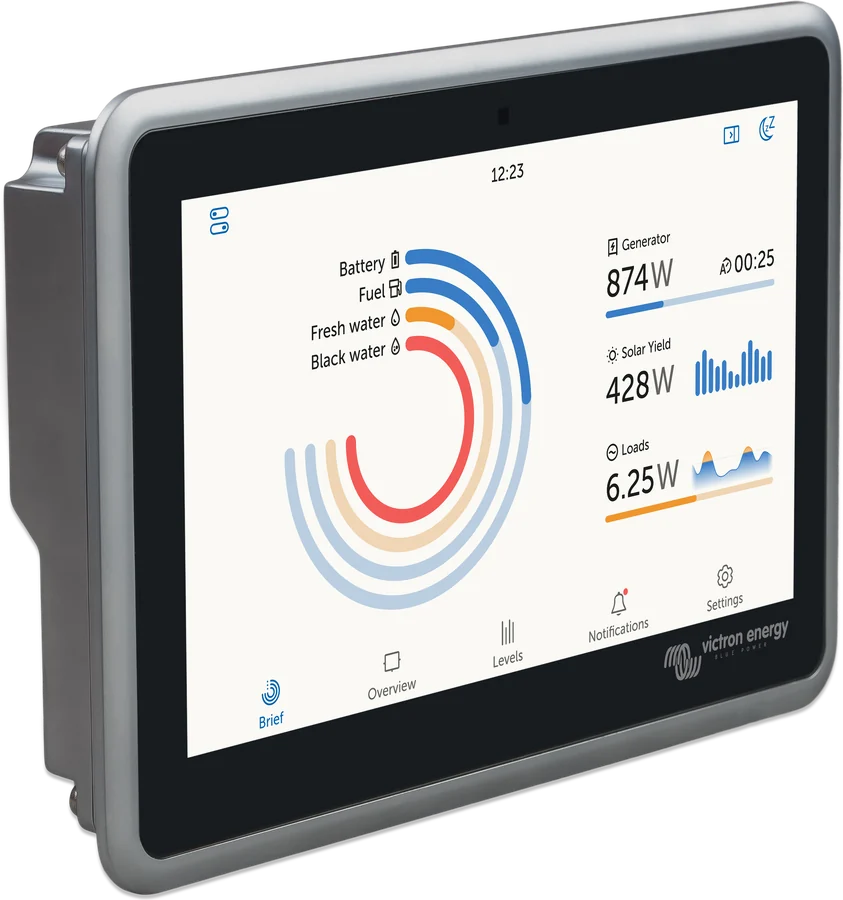
Cerbo GX MK2 — front three-quarter view
Cerbo GX
The brain of the Victron system. It gathers data from all devices, lets you control them and sends everything to the free VRM portal — you can see the installation from your phone wherever you are.
- 8–70 V DC
- VE.Bus · VE.Direct · VE.Can
- Wi-Fi · Ethernet
- Bluetooth
- 2 relays
One place for the whole system
Smart-series devices have built-in Bluetooth (the others connect via VE.Bus Smart or VE.Direct Bluetooth Smart adapters), but the app only works at close range. Cerbo GX brings them together into one system: inverter, solar charge controllers, battery monitor, BMS, tank and temperature sensors.
It shows the whole system on one screen, coordinates charging of supported Victron devices (inverter/chargers, solar charge controllers and Orion XS) and connects to the internet — via Wi-Fi, Ethernet, GX LTE 4G/GX GSM or an external mobile router. Other chargers and loads must be controlled according to BMS requirements, for example via ATC/ATD.
- view and change settings remotely via the VRM portal,
- automatic generator start and stop,
- in a home energy storage system (ESS), a GX centre is essential — for example, Cerbo.

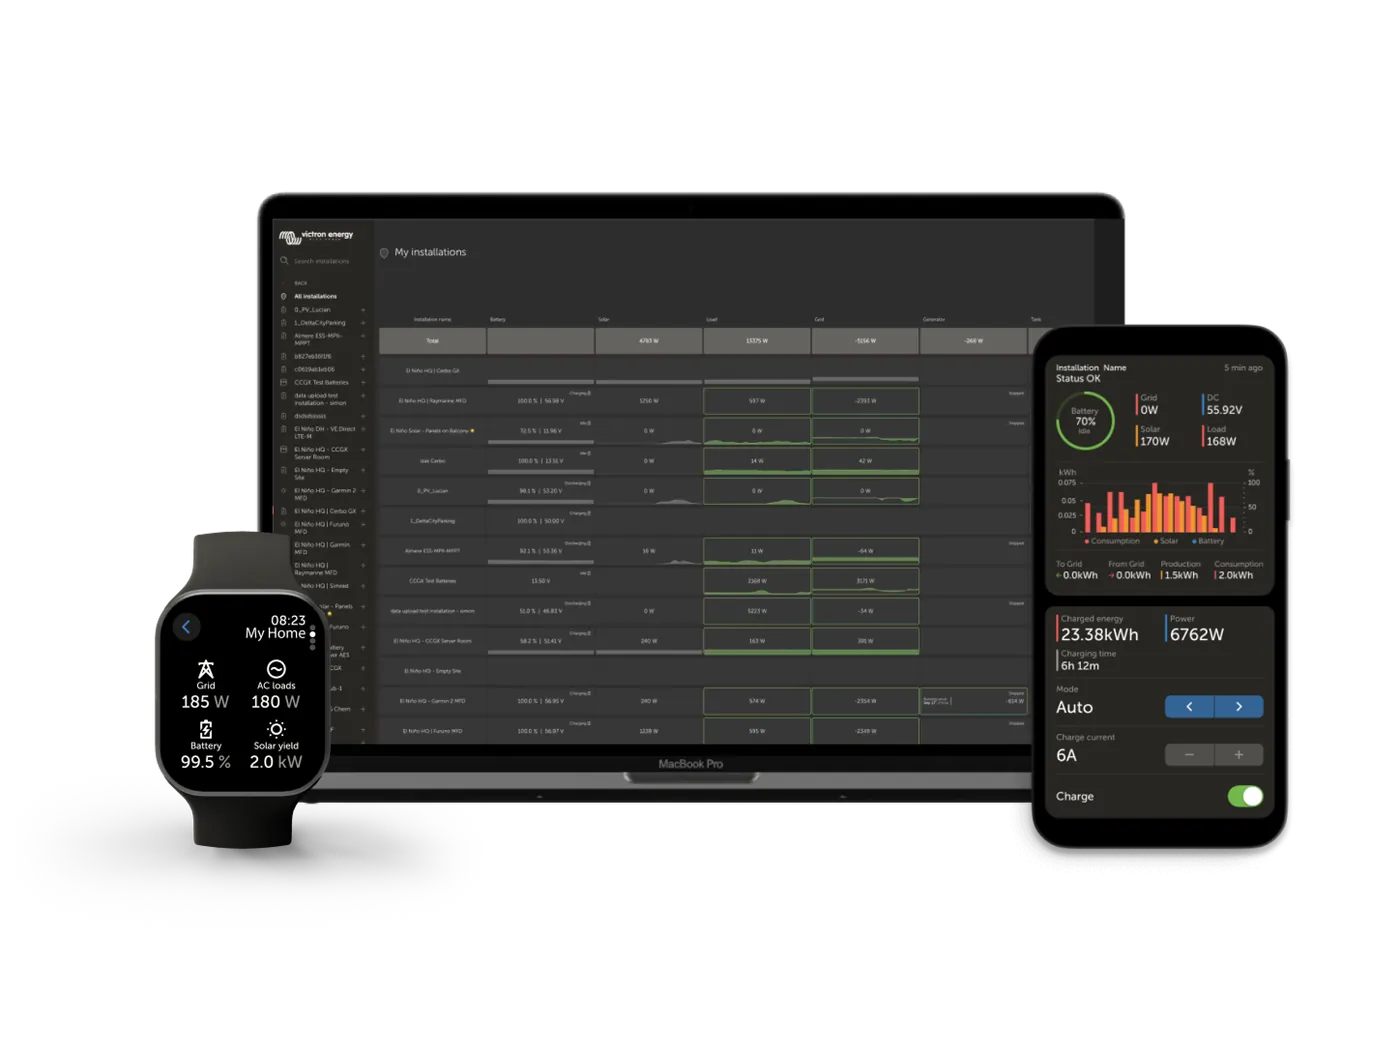
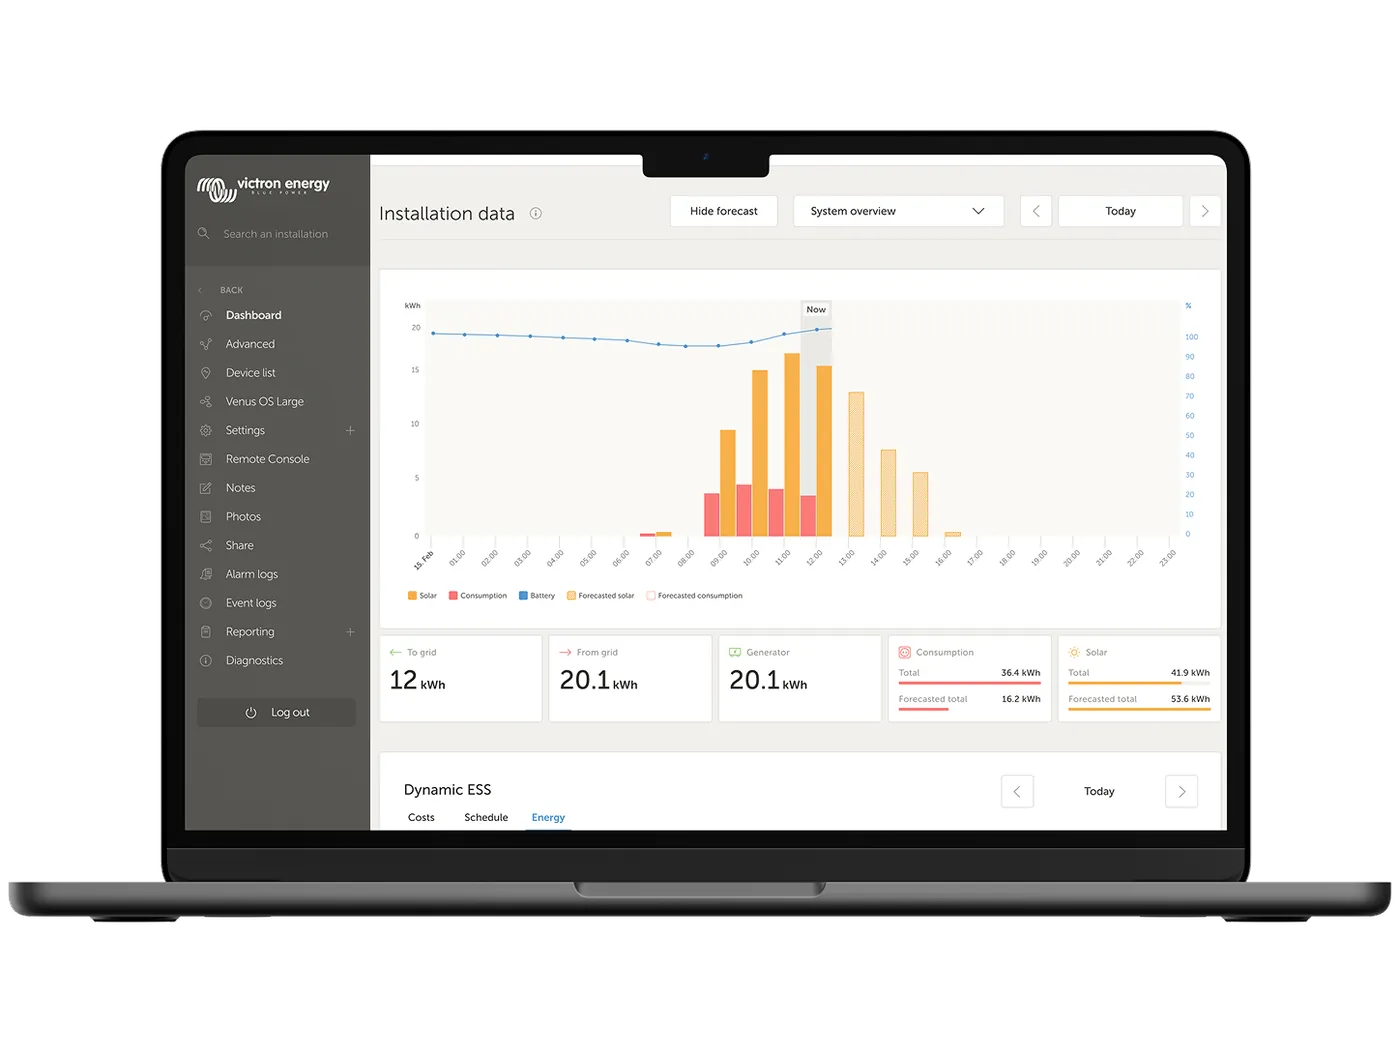
Victron Remote Management — free of charge
Cerbo GX sends data to the VRM portal. You view it in a browser or in the VRM app on your phone and watch. The Remote Console option shows the Cerbo interface as if you were standing in front of the display — you can change settings such as shore power current limit or generator start. Error codes for the GX device itself (for example Error #48 — DVCC) and VRM connection errors (#150–#159) are described in the GX error codes section.

What Cerbo GX can do
View the whole system
State of charge, consumption, solar production, generator and grid, tank levels and temperatures — in one place.
Generator control
Relay 1 starts and stops the generator according to battery state, load, inverter high-temperature warning, overload or schedule.
Shore power current limit
You can change it from the display or remotely — for example, after arriving at a campsite with a 6 A fuse.
BMS integration
It coordinates charging so that supported inverter/chargers, solar charge controllers and Orion XS follow the lithium battery BMS (via VE.Can or — for batteries from other brands — BMS-Can, depending on the Cerbo version). Other chargers and loads must be controlled according to BMS requirements, for example via ATC/ATD.
ESS — energy storage system
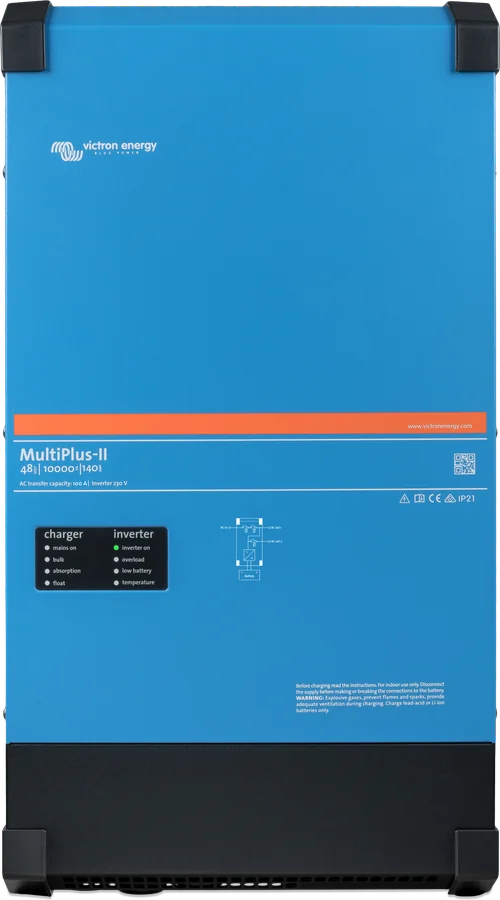
With a MultiPlus-II or Quattro-II inverter it forms a home energy storage system that increases self-consumption from solar PV.
Integrations
Marine MFDs, Modbus-TCP, and in the expanded Venus OS system also Node-RED.
What connects where
| Connector | How many | What it is for |
|---|---|---|
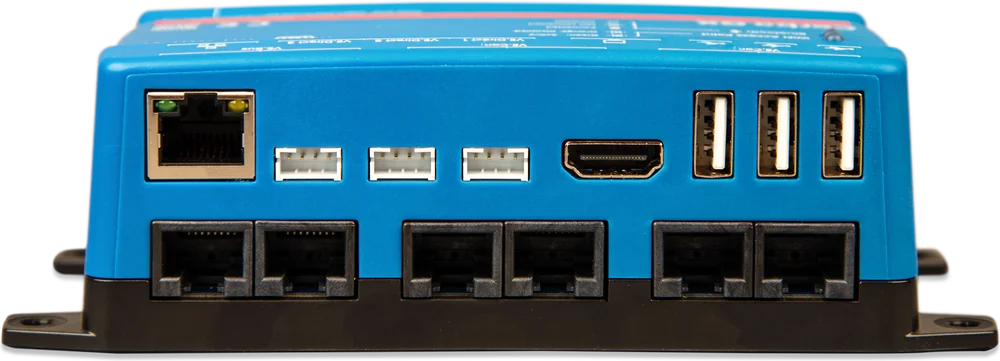
| VE.Bus | 1 bus, 2 RJ45 sockets connected in parallel | one VE.Bus system: MultiPlus, MultiPlus-II, Quattro; do not fit a VE.Can terminator in the free socket |
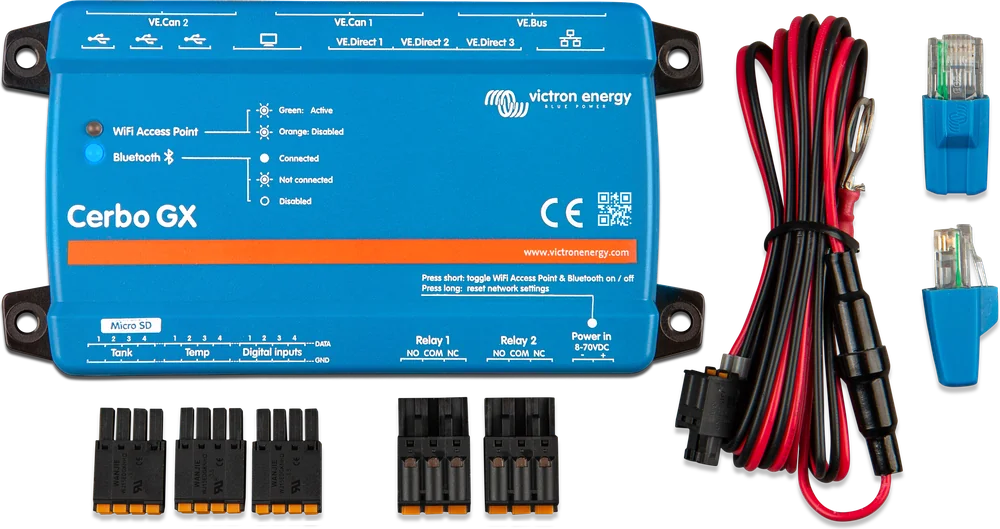
| VE.Direct | 3 (isolated) | MPPT solar charge controllers, SmartShunt, BMV, Phoenix — more via USB adapters (up to 15 devices in total, but in complex systems the limit may be lower; leave a margin) |
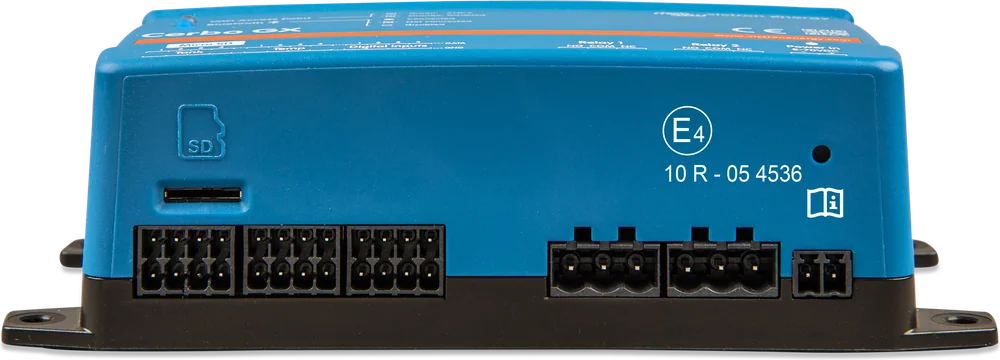
| VE.Can / BMS-Can | older Cerbo GX: 1× VE.Can + 1× BMS-Can; MK2: 2× VE.Can (VE.Can 1 isolated); Cerbo-S: 1× VE.Can | VE.Can (250 kbit/s): Lynx Smart BMS, chargers and VE.Can devices, NMEA 2000. For NMEA 2000, check the permissible voltage of all devices; many require 12 V, so the network may need a separate supply or the correct adapter. BMS-Can (always 500 kbit/s): only compatible batteries from other brands. VE.Can and BMS-Can cannot be on the same bus; terminators at both ends of the network. |
| Ethernet · Wi-Fi | 1 + built-in | internet for VRM, local network; Cerbo can also create its own Wi-Fi access point |
| Bluetooth | built-in | initial setup and network settings in the VictronConnect app |
| HDMI + USB | 1 + 3 (older Cerbo: 2 USB + 1 for GX Touch power only; MK2: 3 USB) | GX Touch display (one HDMI + USB cable), GX LTE 4G/GX GSM, USB stick, VE.Direct adapters |
| Tank inputs | 4 (resistive) | water, fuel and waste tank level sensors |
| Temperature inputs | 4 | temperature sensors (e.g. battery, cabin) |
| Digital inputs | 4 | alarms, door open sensor, bilge pump status |
| Relays | 2 (NO/NC) | Relay 1: alarm, generator start/stop, tank pump, temperature control or manual mode. Relay 2: temperature control or manual mode. Both: up to 6 A at 30 V DC or 125 V AC, 1 A at 70 V DC — switch 230 V AC only through an intermediate relay or contactor |
- Supply voltage
- 8–70 V DC. Above 60 V DC, Cerbo GX is a built-in product — the installation must prevent the user from accessing the terminals.
- Consumption without display
- 2.8 W at 12 V
- Installation
- on the wall or on a 35 mm DIN rail (adapter)
- Operating temperature
- −20 … +50 °C
- Ingress protection
- IP20 — indoor use only
- Dimensions (H × W × D)
- 78 × 154 × 48 mm
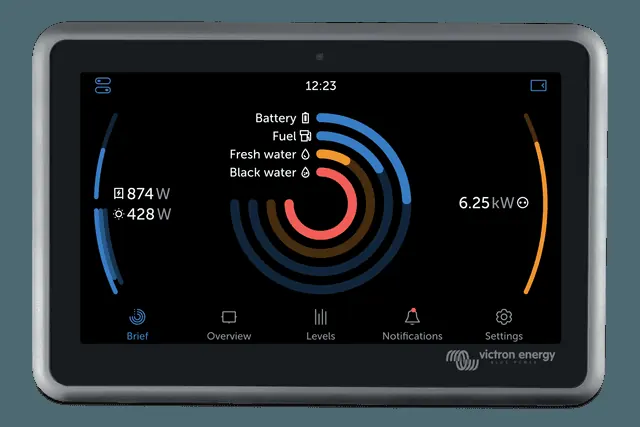
Touchscreen on one cable
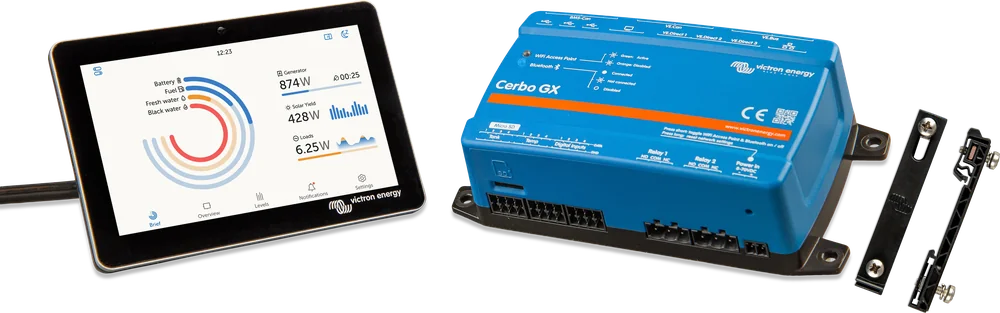
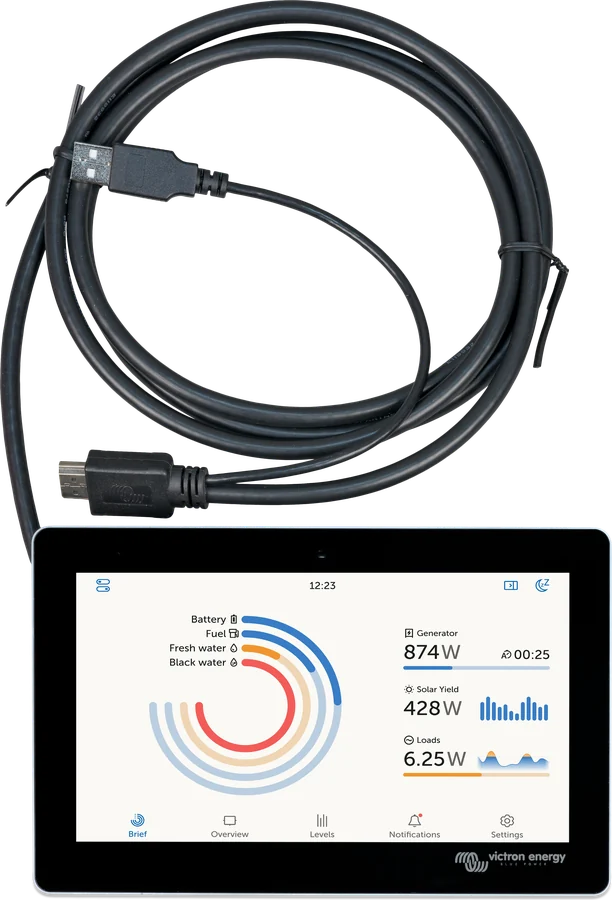
Cerbo GX has no built-in display. You can use it by phone and VRM, but day to day it is more convenient to use the GX Touch display. It connects to Cerbo with one 2 m cable (no extension leads — the manual does not allow them). You do not need to cut a precise opening for the whole display: according to the manufacturer’s template, only a cable opening is needed (three overlapping Ø32 mm holes) and 4 Ø2 mm fixing holes; the Flush version can also be stuck on with the factory tape. For wall mounting without a cut-out, use the GX Touch Wall Mount bracket.
| GX Touch 50 | GX Touch 70 | |
|---|---|---|
| Diagonal | 5" | 7" |
| Resolution | 800 × 480 | 1024 × 600 |
| Thickness | 12.4 mm | 13.5 mm |
| Ingress protection | IP54 (Flush version with gasket: IP65) | |
Flush versions are mounted in a cut-out, flush with the surface. Standard versions come with a sun cover to protect the display.
Cerbo GX at the centre of the system
Each device connects to Cerbo with the appropriate cable. Hover over or tap an item in the diagram to see which one.
- MultiPlus-II → VE.BusInput current limit, operating modes, loads.
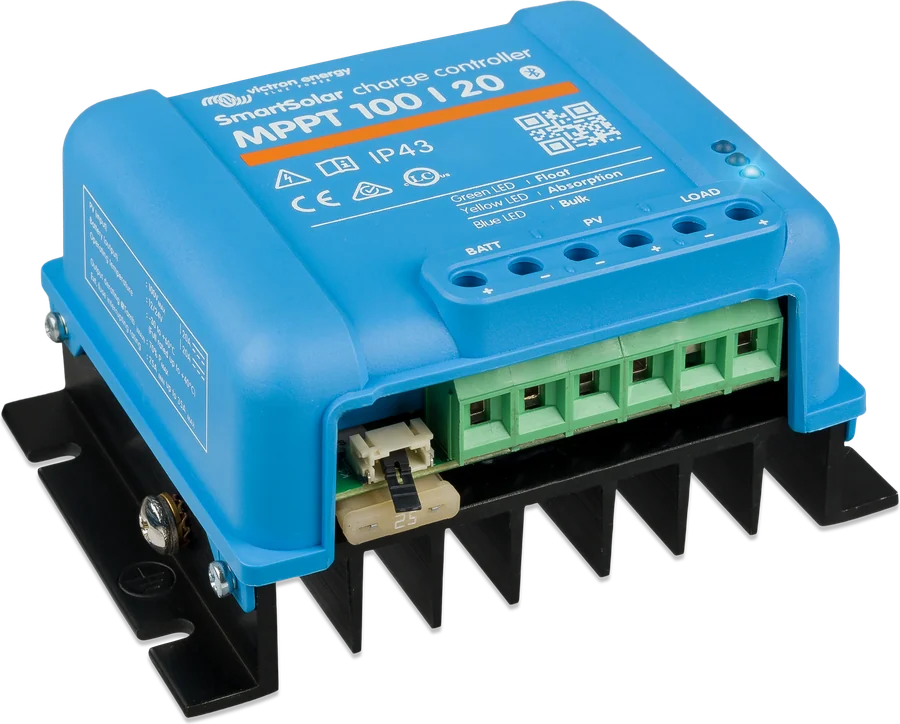
- MPPT → VE.DirectSolar production; charging in line with the BMS.
- SmartShunt → VE.DirectBattery state of charge for the whole system.
- BMS → VE.CanLynx Smart BMS always on VE.Can; terminators at both ends of the network.
- Internet → VRMWi-Fi, Ethernet or LTE — remote monitoring and control.
- GX Touch → HDMI + USBTouchscreen on one HDMI + USB cable: HDMI for the image and USB for power.
Cerbo GX, Cerbo-S GX or Ekrano GX?
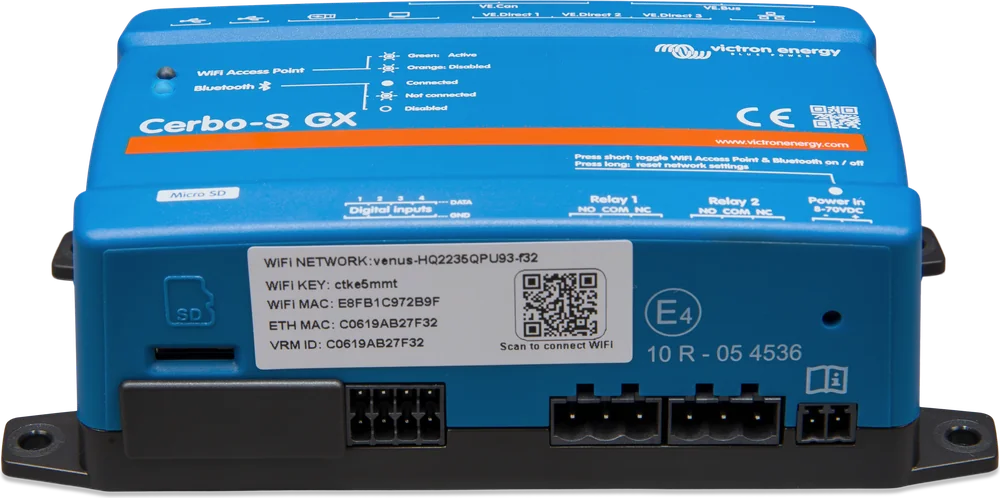
Before you buy, compare the connector list in the current datasheet — the differences between versions mainly concern the number and type of ports.
First steps
The enclosure is IP20. Mount Cerbo in a technical cabinet — on the wall or on a DIN rail (with a DIN35 adapter). Only the GX Touch display is visible outside the cabinet.
Bluetooth in Cerbo is used for the initial connection and network setup in the VictronConnect app. After that you use the display, local network or VRM.
First connect Cerbo to the internet — you can add the installation in the VRM portal only after Cerbo sends the first data. The easiest way is via the QR code in Settings → VRM or the link in Remote Console; you can also enter the VRM ID from the device menu.
Power Cerbo from the battery — the power cable supplied has a 3.15 A time-delay fuse. Do not power it from the inverter AC-out via a power supply: when the inverter is switched off, the system may lock up. With VE.Bus BMS (first version), power Cerbo from the “Load disconnect” output. Connect GX Touch before powering Cerbo. Remember the continuous consumption during long stops.
Most common questions about Cerbo GX
Does Cerbo GX work without internet?
Yes. Monitoring, control, generator start and charge coordination all work locally — on the GX Touch display, on the local network or via Cerbo’s Wi-Fi access point. Internet is needed only for the VRM portal and remote access.
How much power does Cerbo GX use?
According to the manufacturer, about 2.8 W at 12 V without the display. That is about 0.23 A, or about 5.6 Ah from the battery per day. With GX Touch, the datasheet states 3.8 W (backlight off) to 4.8 W (full brightness).
Do I need a GX Touch display?
It is not essential. You can operate Cerbo through VRM, through a browser on the local network (Remote Console), or through the VictronConnect app. The display is handy when you want to see system status every day without reaching for your phone.
Does Cerbo work with batteries from other brands?
Many lithium batteries with their own BMS connect to Cerbo via the BMS-Can port (older Cerbo, always 500 kbit/s) or the VE.Can port set to the correct profile (Cerbo MK2) — according to Victron’s compatibility list. Victron publishes a list of compatible batteries — check it before buying, because not every BMS communicates properly.
I have a MultiPlus-II. Should I buy Cerbo GX or MultiPlus-II GX?
The MultiPlus-II GX has a built-in GX centre — fewer devices and cables. A separate Cerbo gives you more connections (tanks, temperatures, relays, more VE.Direct ports) and can be replaced or moved independently of the inverter.
Devices most often connected to Cerbo

Manufacturer documentation
- Datasheet Cerbo GX, Cerbo-S GX and GX TouchPDF · EN
- Product page on the manufacturer’s website (manual, list of compatible batteries)victronenergy.com
- VRM portal — log in and registervrm.victronenergy.com
We prepared this description independently based on the manufacturer’s documentation. If there are any discrepancies, the current Victron Energy documentation is binding. You can report an error here.
Content checked against Victron Energy documentation (datasheets and manuals) — as of 19 September 2026. Report a content error · Revision log