
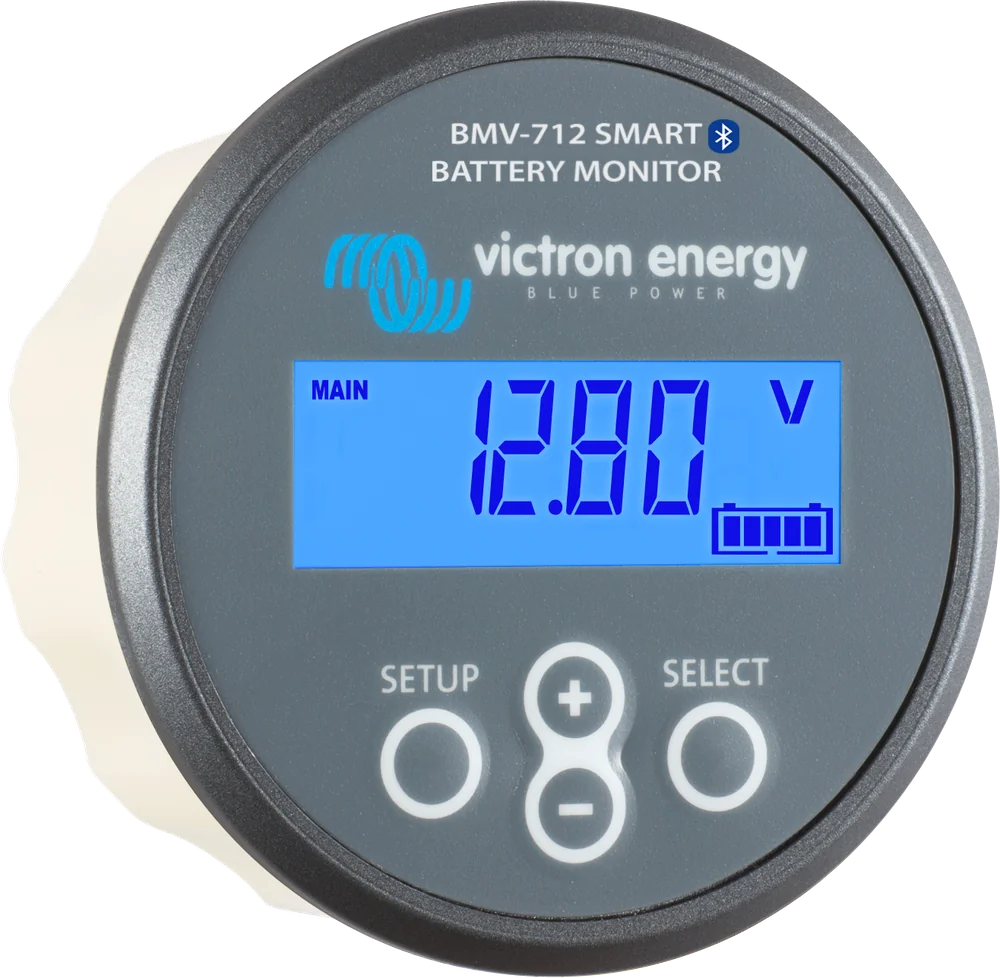
BMV-712 Smart — display panel, angled view
BMV-712 Smart
Battery monitor with a round display for panel mounting. Shows state of charge, current and time to go at a glance. Has an audible alarm and a relay that can start a generator or disconnect loads.
- 6.5–70 V
- 500 A shunt included
- Bluetooth
- VE.Direct
- 60 V / 1 A relay
Battery status always in view
BMV-712 Smart measures the current flowing through the shunt on the battery negative and calculates how much energy has gone in and out. Just like SmartShunt — we explain this in the SmartShunt guide in detail.
The difference is in operation: BMV has its own display and buttons mounted in a panel, for example by the entrance to a campervan, above the navigation table on a yacht, or in a utility cupboard in a cabin. You can see battery status at a glance, without reaching for your phone.
- voltage, current, power, consumed Ah, state of charge and time to go,
- programmable visual and audible alarm,
- relay for controlling a generator or loads,
- Bluetooth and the VictronConnect app — as in SmartShunt.
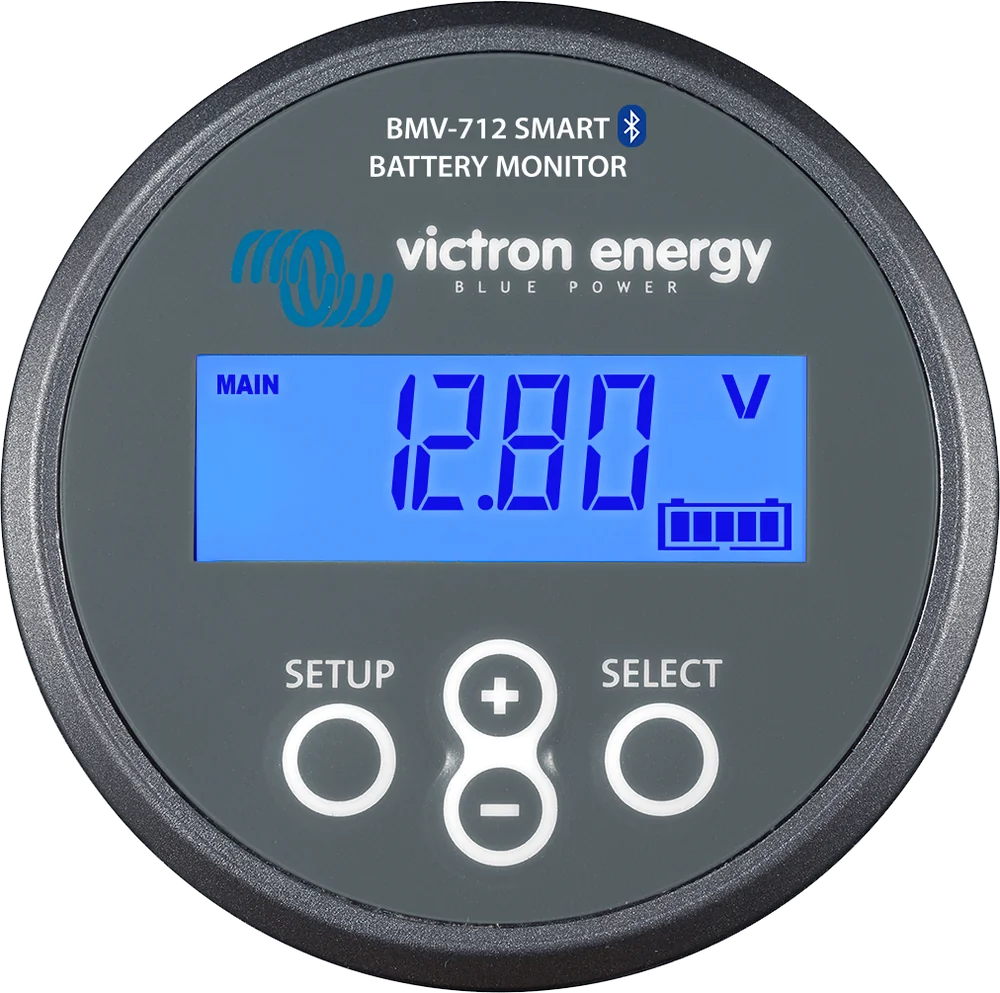

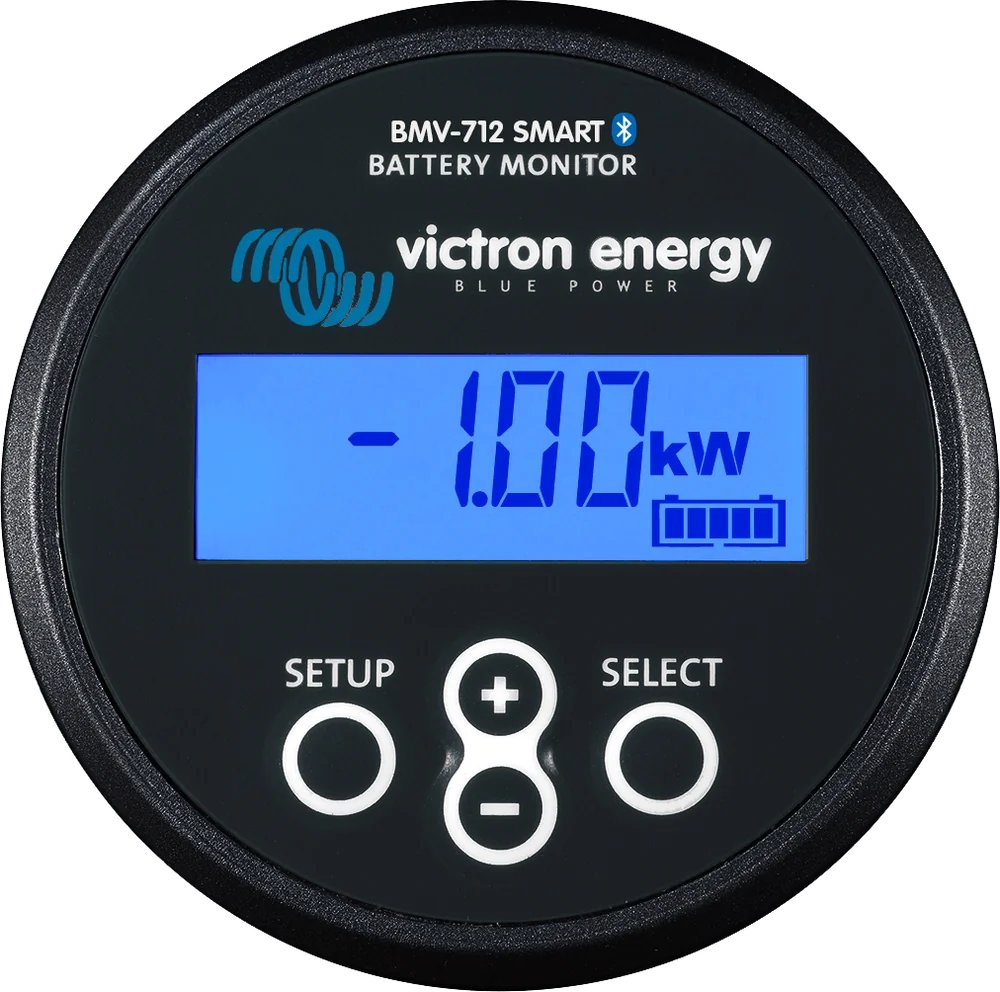
What you will see on the panel
| Reading | Resolution (500 A shunt) | Why |
|---|---|---|
| State of charge | 0.1% | how much energy remains in the battery |
| Time to discharge | 1 min | time to reach the set discharge floor (“discharge floor”, default 50%) at the current draw |
| Current | 0.01 A | how much you are drawing or charging right now |
| Voltage | 0.01 V | charging and battery status control |
| Consumed amp-hours | 0.1 Ah | how much has been drawn since the last full charge |
| Power | — | instantaneous draw or charge in watts |
| Aux input | 0.01 V / 1 °C | starter battery, midpoint or temperature |
History (about 45 days) and detailed statistics are easier to view in the VictronConnect app — BMV has built-in Bluetooth, just like SmartShunt.
BMV does more than display — it can also react
Generator start
The relay can start a generator when state of charge drops to the set threshold, and stop it after recharging.
Disconnecting loads
The relay can also disconnect less important loads before the battery is discharged too deeply.
Visual and audible alarm
Programmable — for example low state of charge, voltage too low or too high, value on the Aux input.
Bistable relay
Changes state and holds it without continuous coil power, so it does not increase battery draw during an alarm.
60 V / 1 A contact
Normally open (NO), with the option to reverse operation. For controlling a contactor or generator start input, not for directly powering high loads.
Alarms from Aux input
The alarm and relay can also react to starter battery voltage, midpoint deviation or temperature.
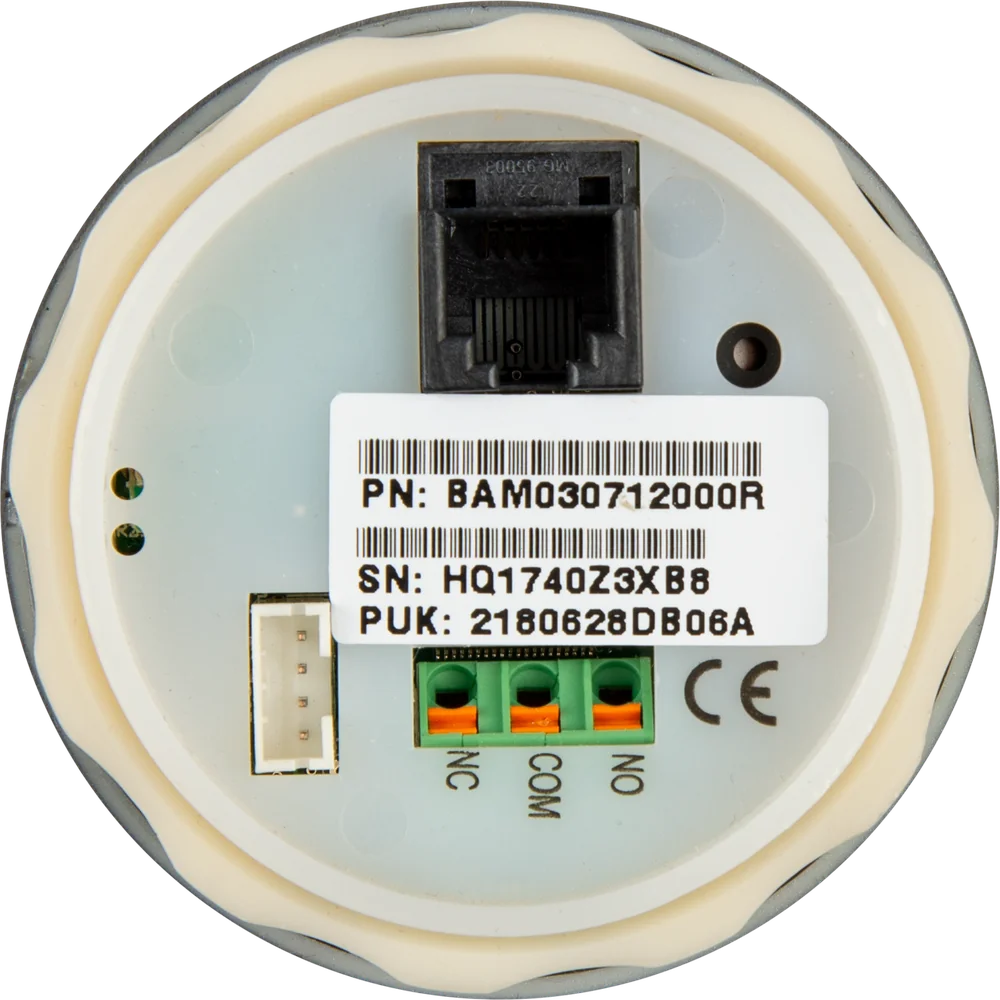
You connect a generator with a remote start input to the relay terminals. In relay mode “CHRG” you set start on state of charge drop (factory default 50%) and stop after recharge (factory default 90%), as well as the minimum run time and delay. An alternative is starting the generator from the GX device.
Switch larger loads (fridge, pump, heater) via a contactor or power relay controlled by the BMV.
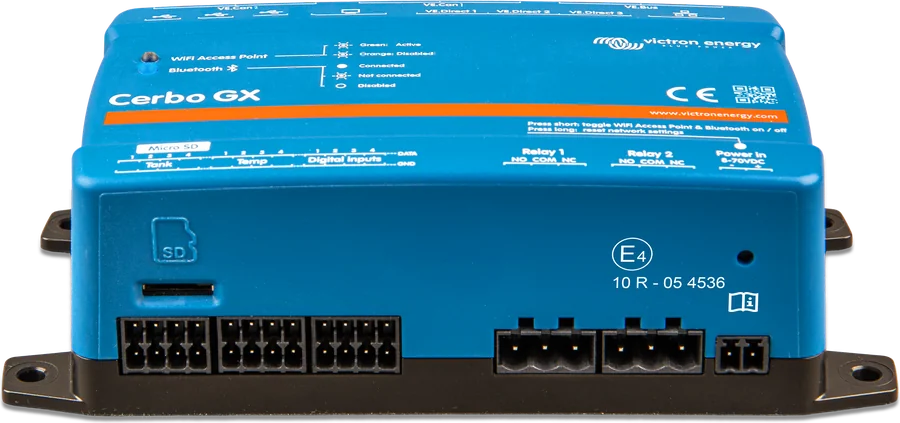
In a system with Cerbo GX, the generator start is usually managed by the Cerbo relay, which takes more conditions into account. The BMV then remains a display and data source.
Shunt by the battery, panel where you look
All current-carrying cables are connected at the shunt. A thin RJ12 cable runs to the panel (and, if needed, relay wires). Hover over or tap a diagram element to see its description.
When working on the battery, ensure ventilation, do not allow sparks or flames, use eye protection and protective clothing, and do not touch your eyes; wash your hands after work. Use metal tools carefully and remove metal jewellery.
- Battery negative → shunt (BATTERY ONLY)Nothing other than the shunt may be on the battery negative. Tighten cables on the M10 studs of the 500 A shunt to a maximum torque of 21 Nm.
- Shunt (LOAD & CHARGER) → entire systemNegatives of the inverter, MPPT, chargers and distribution board.
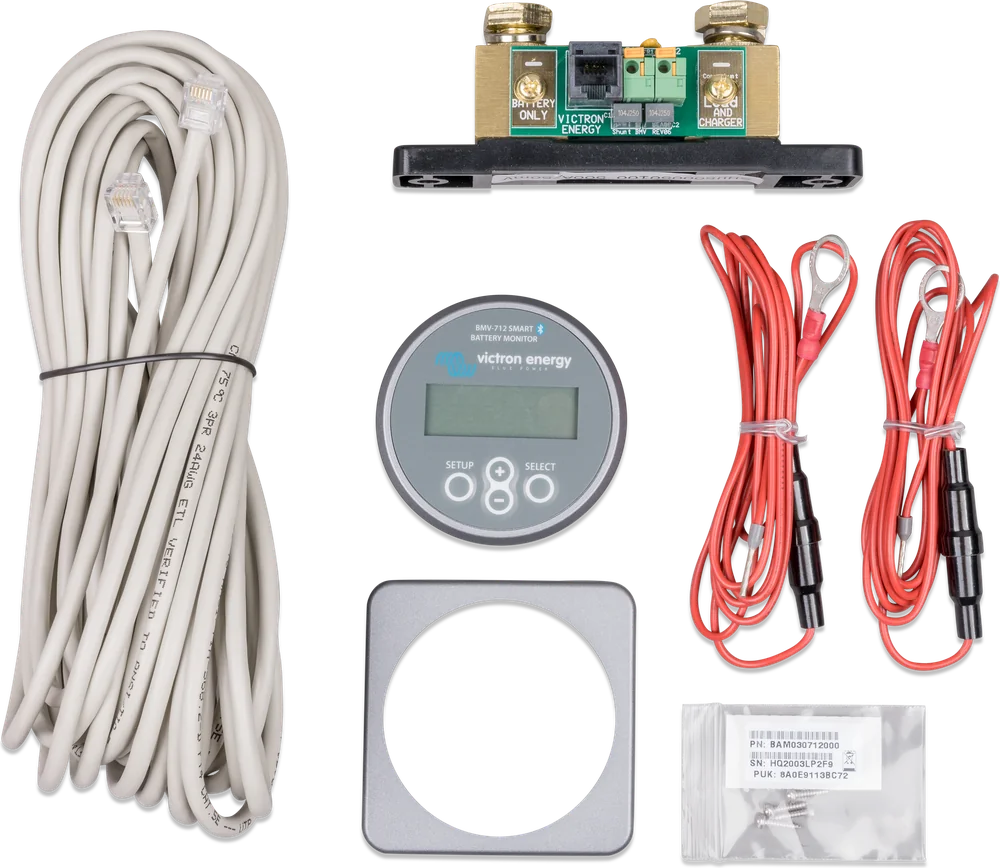
- Vbatt+ → battery plus1.5 m cable with 1 A fuse to terminal +B1 (two are included: +B1 and +B2).
- Shunt → panel (RJ12)10 m cable included — the panel can be far from the battery.
- Relay → generator or contactor60 V / 1 A contact on the back of the panel.
- Aux (optional)Starter battery, midpoint or temperature. When measuring the starter battery, its negative must be connected to the LOAD AND CHARGER side of the shunt.
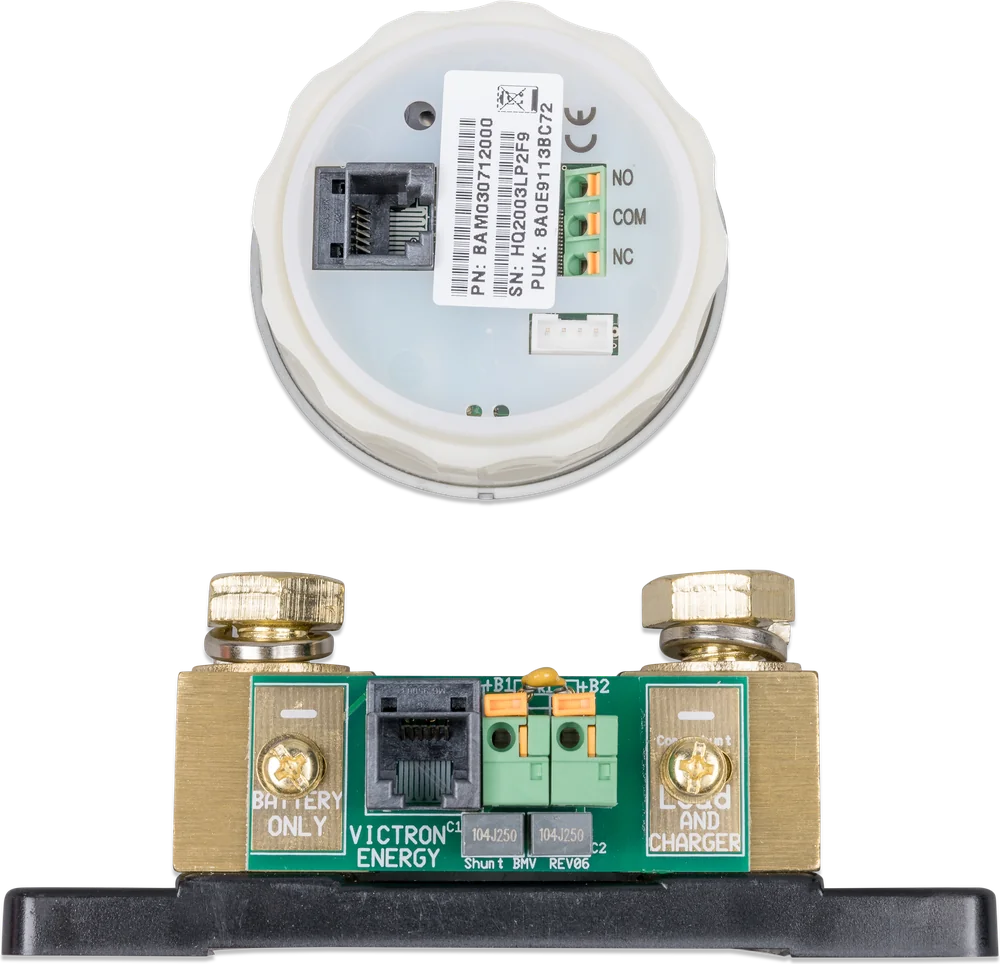
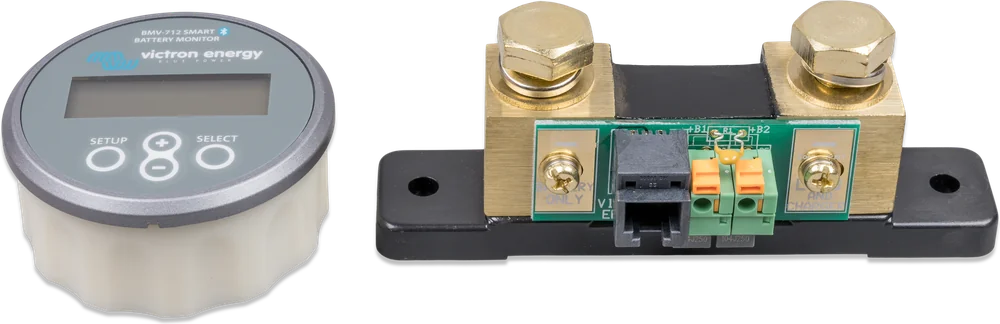
The settings after installation (capacity, charged voltage, synchronisation) are the same as in SmartShunt — see “First use”. Shunt wiring rule: “All current must pass through the shunt”.
Round or square — your choice
The panel body is 52 mm in diameter and 31 mm deep; the front is 63 mm in diameter. The panel fits into a round cut-out 52–53 mm in diameter; panel thickness according to the manual: 0.5–8 mm (mounting A) or 7–18 mm (mounting B). There is also an optional wall enclosure.
From the rear with a retaining ring or from the front with screws. A square 69 × 69 mm bezel is also included — the panel then looks like a square instrument.
Longer RJ12 cables are available up to 30 m. The six-core cable with RJ12 plugs connects the shunt to the panel. If the run is longer, lay it before mounting the panel.
The front is resistant to dust and water jets (IP55), but the manufacturer does not intend it for outdoor installation. Operating temperature −40 … +50 °C.


Technical data
- Supply voltage
- 6.5–70 V DC
- Current draw (without backlight)
- < 1 mA
- Monthly consumption
- 0.7 Ah at 12 V · 0.6 Ah at 24 V
- Battery capacity
- 1–32,500 Ah (firmware from v4.19)
- Current / voltage accuracy
- ±0.4% / ±0.3%
- Shunt included
- 500 A / 50 mV, M10 studs
- Larger shunts
- 1000, 2000 and 6000 A (same board)
- Shunt selection in settings
- up to 9999 A and 75 mV
- Relay
- bistable, 60 V / 1 A, NO
- Aux input
- 6.5–70 V · temperature −20 … +50 °C
- Operating temperature
- −40 … +50 °C
- Ingress protection
- IP55 (not for outdoor installation)
- Front / bezel
- ø 63 mm / 69 × 69 mm
- Body
- ø 52 mm, depth 31 mm
- History in memory
- approx. 45 days
- Temperature sensor
- optional (ASS000100000)
According to the manufacturer, after a lithium battery is disconnected because of low cell voltage, it still has a reserve of about 1 Ah per 100 Ah of capacity. A constant draw of 10 mA can damage a 200 Ah battery left discharged for more than 8 days. The BMV draws about 1 mA (with the backlight off), and the manual recommends disconnecting its supply if a lithium battery installation is left unattended for a long time.
BMV-712 Smart or SmartShunt?
BMV-712 Smart
Display panel with buttons, audible alarm and programmable relay. Choose this if you want battery status visible without a phone, or if the monitor needs to control something.
52 mm panel + 500 A shuntSmartShunt
The same measurement, but without a display — read it on your phone via Bluetooth or on the GX device screen. Fewer cables and simpler installation. SmartShunt card.
shunt onlyLynx Shunt VE.Can
Shunt built into the Lynx busbar, with fuse and VE.Can communication — for larger systems with a DC distribution board. Lynx Shunt VE.Can card.
DC busbar + VE.CanBoth measure equally accurately, both have Bluetooth, VE.Direct and an Aux input. The choice depends on how you want to read battery status.
- BMV-712 — when you want a permanent display, audible alarm or relay (generator start, load disconnect).
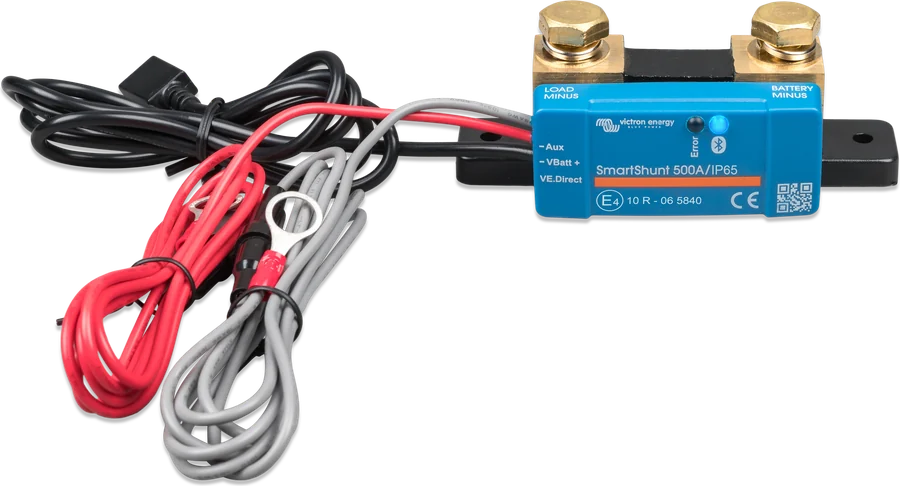
- SmartShunt — when a phone or GX screen is enough and you want fewer cables; there is also an IP65 version.
Most common questions about the BMV-712 Smart
Can the BMV-712 handle more than 500 A?
Yes. The quick-connect board from the standard 500 A shunt can be fitted to 1000, 2000 and 6000 A (50 mV) shunts, and the shunt current and voltage are entered in settings (up to 9999 A and 75 mV). Zero calibration is only carried out when the BMV shows current even though there is no load or charging, and when you are sure that no current is flowing through the shunt.
How far from the battery can I mount the panel?
The set includes a 10 m RJ12 cable (longer ones up to 30 m), so the panel can be in a different room from the battery. You always mount the shunt by the battery.
Can the relay switch the fridge off directly?
Not directly — the relay contact is 60 V / 1 A. Larger loads are disconnected via a contactor or power relay controlled by the BMV.
I have two 12 V batteries connected in series (24 V). What does midpoint measurement give?
The manufacturer stresses that one weaker battery or cell can ruin the whole bank. The BMV compares the midpoint voltage and warns of a deviation. With lead-acid batteries in series, Victron also recommends a Battery Balancer.
Does the BMV-712 work with Cerbo GX?
Yes, via the VE.Direct port and VE.Direct cable. Battery status will then appear on the GX screen and in the VRM portal, and the BMV will still show it on its own display.
How much current does the monitor itself draw?
About 1 mA at 12 V, or roughly 0.7 Ah per month. For longer lay-ups — especially with a lithium battery — it is worth disconnecting its supply so it does not drain the bank.
What is the Aux input for?
For measuring a second battery (for example, the starter battery), temperature, or the midpoint voltage of a series-connected bank. You select this in the settings — only one of these functions works at a time.
Do you need to calibrate the monitor after installation?
Usually not. You only perform zero calibration if the monitor shows current even though there is no load or charging, and you are sure that no current is flowing through the shunt. Set the battery capacity and type in the app or with the buttons.
How do you connect the monitor to a Victron system?
With a VE.Direct cable to the GX device — the battery state will then appear on the GX display and in the VRM portal. Bluetooth works independently, and the panel itself still shows local readings.
Devices it works with most often

Manufacturer documentation
We prepared this description independently based on the manufacturer’s documentation. If there are any discrepancies, the current Victron Energy documentation is binding. You can report an error here.
Content checked against Victron Energy documentation (datasheets and manuals) — as of 19 September 2026. Report a content error · Revision log