
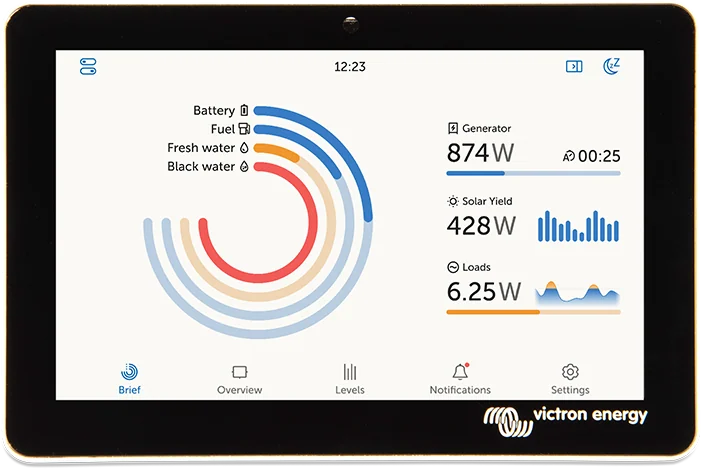
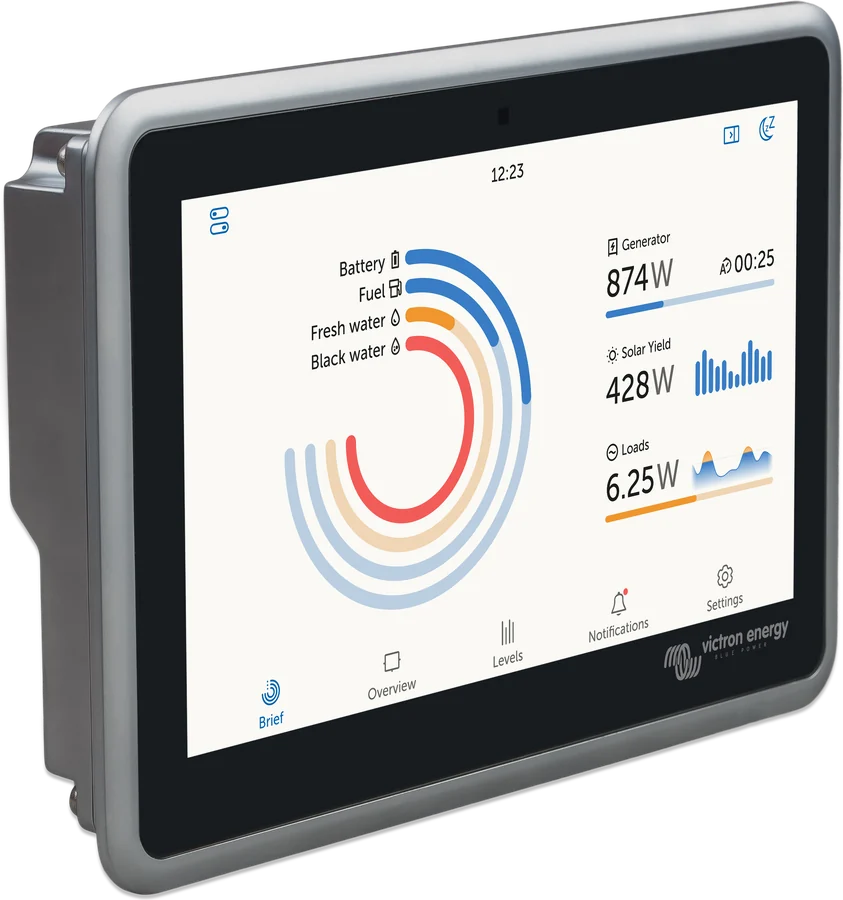
GX Touch 50 — installation overview screen: battery, generator, solar yield and consumption
GX Touch 50 and GX Touch 70
Optional touchscreen for Cerbo GX and Cerbo-S GX. 5-inch or 7-inch version, surface-mounted or flush-mount (Flush). You connect it to the Cerbo GX with one cable — after start-up, Remote Console appears with the installation overview and menu.
- 5 inches / 7 inches
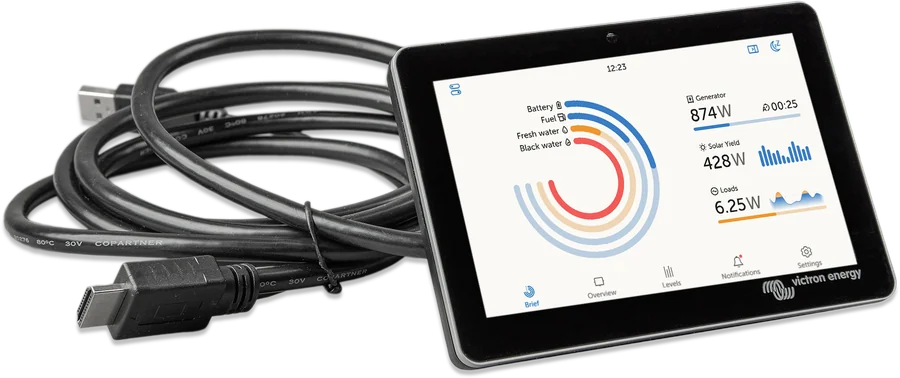
- HDMI + USB, 2 m cable
- IP54 or IP65 (Flush)
- Remote Console
GX Touch 50, 70 and Flush versions
GX Touch 50 and GX Touch 70 are optional displays for Cerbo GX. The 5-inch and 7-inch screens come in two versions: surface-mounted/wall-mounted (GX Touch 50 and 70) and flush-mounted (GX Touch 50 Flush and GX Touch 70 Flush). They give you an overview of the installation and let you change settings.
| Model | Resolution | External dimensions (H × W × D) | IP | Installation |
|---|---|---|---|---|
| GX Touch 50 | 800 × 480 | 87 × 128 × 12.4 mm | IP54 (without connectors) | front-mounted on the supplied brackets or on the wall with the optional GX Touch Wall Mount |
| GX Touch 70 | 1024 × 600 | 113 × 176 × 13.5 mm | IP54 (without connectors) | front-mounted on the supplied brackets or on the wall with the optional GX Touch Wall Mount |
| GX Touch 50 Flush | 800 × 480 | 94 × 136 × 12 mm | IP65 | flush-mounted or fully flush |
| GX Touch 70 Flush | 1024 × 600 | 120 × 184 × 13 mm | IP65 | flush-mounted or fully flush |
On all models, the cable is 2 m long. The Flush versions reach IP65 when fitted with the supplied rubber seal.
- Gestures — swipe through the menu, tap to select.
- On-screen keyboard — use it to enter text and numbers.
- No configuration — once connected, the GX device automatically shows the installation overview and control menu. After startup, Remote Console appears on the GX Touch.
Where GX Touch sits in the system
Schematic view: GX Touch screen next to Cerbo GX. Hover over or touch an element to see the description.
- DC power → fuse → Power inCerbo GX accepts 8–70 V DC on the Power in V+ terminal. Connect GX Touch before switching on the power.
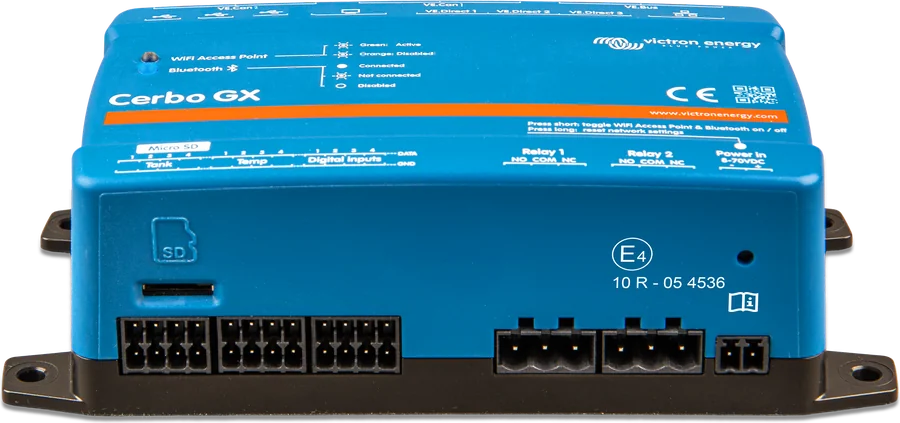
- Cerbo GXThe display is compatible with Cerbo GX and Cerbo-S GX. HDMI is video, USB powers the display.
- HDMI + USB cable (2 m) → GX TouchOne cable, no HDMI extenders. After startup, Remote Console appears on the screen.
- GX Touch 50/705-inch or 7-inch display. No setup is needed — you immediately see the overview and menu.
- Installation overviewSwipe through the menu, tap to select. Enter text with the on-screen keyboard.
- VRM portalYou can add the GX device to VRM from the physical display. The QR code is in Settings → VRM.
Connection to Cerbo GX
Connect GX Touch to Cerbo GX before switching on the power. Recommended procedure: disconnect the power connector from Cerbo GX before installation.
Connect the display to Cerbo GX with one cable: HDMI connector (video) and USB connector (power).
- Disconnect the power Disconnect the power connector from Cerbo GX.
- Connect HDMI and USB Connect the display cable. The USB port depends on the Cerbo GX generation — see below.
- Apply power Reconnect power to Cerbo GX via the 2-pin Power In connector. Cerbo GX is powered through the Power in V+ terminal; it accepts 8–70 V DC.
- First-generation Cerbo GX (PN BPP900450100) — plug the USB connector into the USB port right next to HDMI. This port is used only to power the display and has no other function.
- Second-generation Cerbo GX (PN BPP900450110 and BPP900451100) — you can connect GX Touch to any of the three USB ports.
Do not use HDMI extenders, HDMI repeaters or HDMI-over-CAT between Cerbo GX and GX Touch. Such configurations have not been tested. The result may be no picture, signal dropouts or unstable operation.
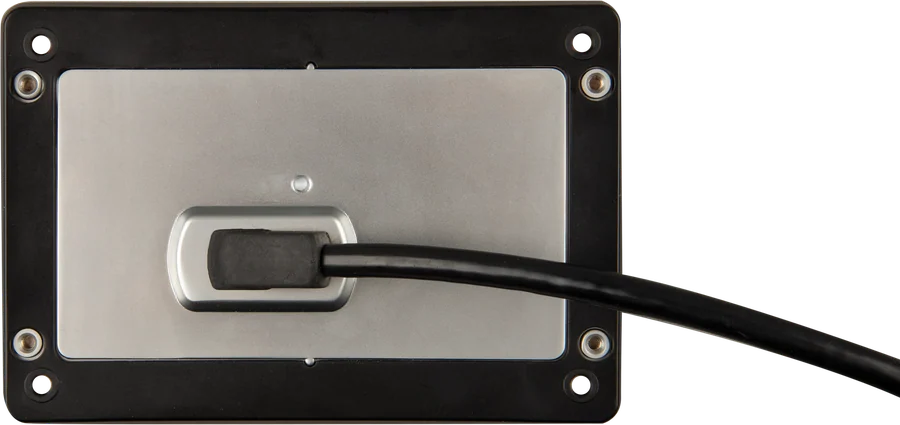
Surface-mounted, wall-mounted and Flush
GX Touch 50 and GX Touch 70 can be front-mounted on the supplied support brackets, or wall-mounted with the optional GX Touch Wall Mount. You screw the display on top of the dashboard — you do not need a perfect cut-out.
- Front mounting — on the supplied support brackets.
- Wall mounting — on the optional GX Touch Wall Mount.
- CCGX cut-out — only GX Touch 50 can be adapted with the optional GX Touch 50 adapter for CCGX cut-out.
GX Touch 50 Flush and GX Touch 70 Flush — flush-mounted or fully flush.
- Use the supplied rubber seal, brackets, threaded ends and wing nuts. This method gives the best resistance to dust and water.
- Tighten the threaded ends and wing nuts by hand only.
- You can stick the display directly to the surface with the factory-applied adhesive. In that case, brackets, threaded ends and wing nuts are not needed. The protection level depends on the quality and flatness of the surface.
- For a fully flush finish, install according to the drill template dimensions.
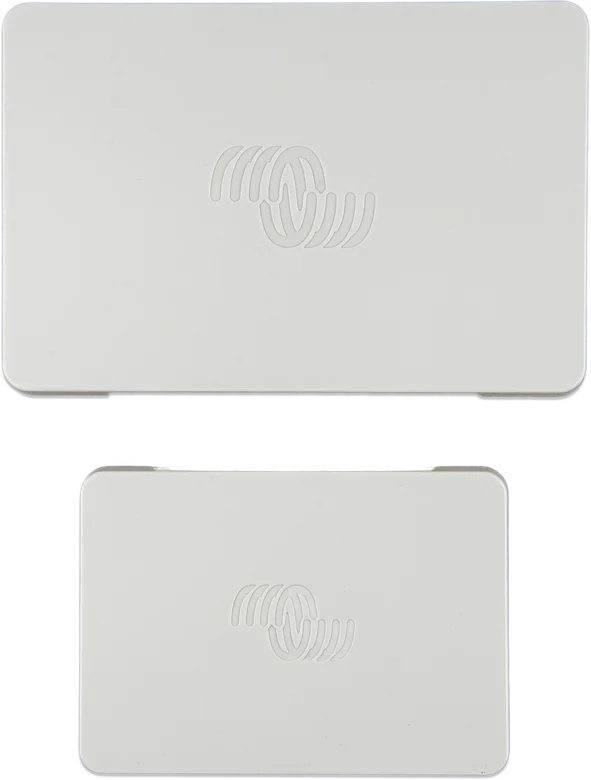
The protective cover (GX Touch Protection Covers) protects the display from water, dust and UV light. It is supplied from serial number HQ2242 and does not apply to GX Touch Flush. The cover does not fit GX Touch 50 Flush or GX Touch 70 Flush.
Display settings
You will find the display settings in: Settings → General → Display & Appearance.
| Parameter | Default | What you can set |
|---|---|---|
| Adaptive brightness | enabled | You can turn it off. GX Touch and Ekrano GX only. |
| Display off time | 10 s | From 10 s to 30 min or never. |
| GX display appearance | Light | Light or dark mode. |
| Start page | Brief page | Start page and return time. |
| Boat page | disabled | Enables or disables the Boat page. |
| Remote Console appearance | Auto | Same as GX display or Auto. |
To limit access to the GX device, you can disable touch control on a connected GX Touch 50 or 70. You enable and disable touch with the Pause/Break key on an external USB keyboard connected to Cerbo GX, or with a momentary switch on one of the digital inputs. The function blocks touch and mouse control only — the keyboard still works in Remote Console. The USB ports and connected keyboard must not be physically accessible to unauthorised people.
You can add the GX device to the VRM portal directly from the physical display. The QR code is in Settings → VRM, so you do not need to read the portal ID from the sticker. This option is available only on physical displays, including GX Touch 50, GX Touch 70 or Ekrano GX.
Questions and answers
Do you need to configure GX Touch after connecting it?
No. No configuration is required. Once connected, the GX device automatically shows the installation overview and control menu. After startup, Remote Console appears on the GX Touch.
Can I extend the cable between Cerbo GX and GX Touch?
No. Do not use HDMI extenders, HDMI repeaters or HDMI-over-CAT between Cerbo GX and GX Touch. Such configurations have not been tested — the result may be no picture, signal dropouts or unstable operation. Alternative: the wireless Android GX WiFi Display. A tablet or phone running Android in kiosk mode can be used as a display over WiFi.
Which device does GX Touch work with?
GX Touch 50 and GX Touch 70 are optional displays for Cerbo GX. GX Touch is also an optional display for Cerbo-S GX.
What is different about the Flush version?
GX Touch 50 and 70: surface-mounted or wall-mounted, IP54 (without connectors). Flush: recessed or fully flush-mounted, IP65 when installed with the supplied rubber gasket. The resolutions are the same (800 × 480 and 1024 × 600). The cable is 2 m on all models. The protective cover does not fit the Flush.
Does the protective cover fit the Flush?
No. The cover does not fit the GX Touch 50 Flush or GX Touch 70 Flush. It is included from serial number HQ2242 onwards (not for the Flush) and protects against UV light in prolonged sunshine.
How do you disable touch control?
You can enable and disable touch with the Pause/Break key on an external USB keyboard connected to Cerbo GX, or with a momentary push button on one of the digital inputs. The lock only affects touch control and the mouse — the keyboard still works in Remote Console. The USB ports and keyboard must not be physically accessible to unauthorised people.
How do you add a GX device to VRM from the screen?
From the physical display: in Settings → VRM there is a QR code, so you do not need to read the portal ID from the sticker. The option is only available on physical displays, including GX Touch 50, GX Touch 70 or Ekrano GX.
Manufacturer documentation
Content checked against Victron Energy documentation (datasheets and manuals) — as of 19 September 2026. Report a content error · Revision log